What is the first thing you think of when you picture the ideal website for your company? We know the most important selling points lie within the content, but vibrant and crisp photos are what will draw users in and leave them actually wanting to continue through the pages of your website.
Product images, before and after images of the services you provide, and even a snapshot of your team will allow potential customers to get a glimpse of what they can expect when choosing to reach out to your company.
Luckily for all of us, it doesn’t take a degree in photography to get visually appealing photos that show the hard work that was put in to get the final result. In this post, we will dive a little deeper into a few tricks and tips to up your picture taking game and bring your website to new heights.
Tip #1: Don’t Sweat The Equipment
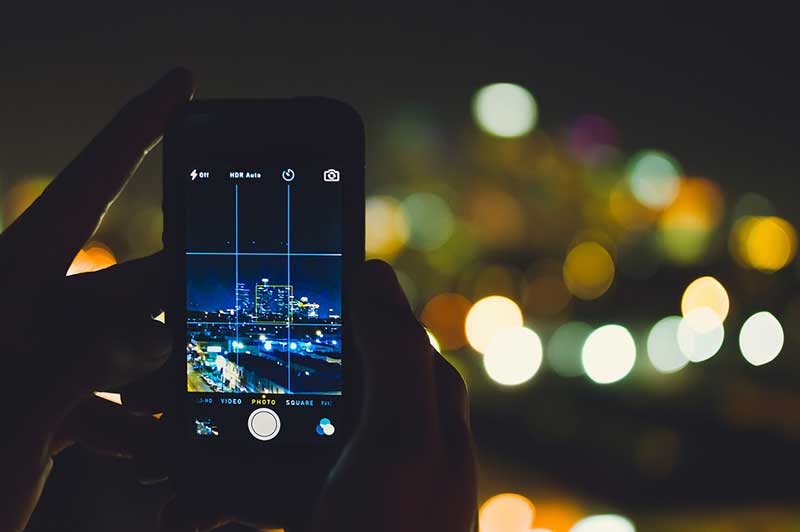
I think we can all agree that technology is nothing short of amazing. Nowadays, everyone has a phone, planner, entertainment system, and yes, a high quality camera, all in one device that fits in their back pocket.
While having a separate DSLR camera is nice and will still get the job done, it simply isn’t a necessity anymore. Most of the smartphones that came out in 2019 boast up to a 12 megapixel rear camera. This equals out to roughly 6 times the resolution needed for a high definition image on a computer screen, which means there isn’t much excuse for a tiny, blurry photo on your website.
Of course, no matter how nice the camera is, in your phone or otherwise, it can only be as good as the person behind it.
Again, as designers, we aren’t expecting Annie Leibovitz levels of photography prowess when requesting images for your website. We are here to help you! All images that are sent in can always be cropped, color corrected, and retouched as needed to make sure the message gets across quickly and clearly.
Tip #2: Lighting Is Key
Any social media influencer worth their salt knows about the magical “golden hour” when it comes to taking the perfect, glowing selfie. This is only one example of how lighting in your photos can make all the difference between drab and dreary or vivid and vibrant.
Natural sunlight in the early morning or late afternoon, when the sunlight is a little more diffused, are the ideal times to get an even source of light for your photos. However, even when the lighting is not ideal, there are still ways to work around it.
If you are working with bright light around your subject, you want to be sure that your photos don’t become overexposed and full of glare. Though it sounds counter intuitive, this could be a good time to use the flash function to balance out any harsh light and fill in any shadows that it creates. Creating more even light distribution will ensure that you don’t lose detail throughout the subject of the photo.
Alternatively, if you are working in a dark area, there are tools to magnify what little light is available. You can use a reflector, mirror, or even a large, white poster board or curtain to help reflect light back towards your subject.
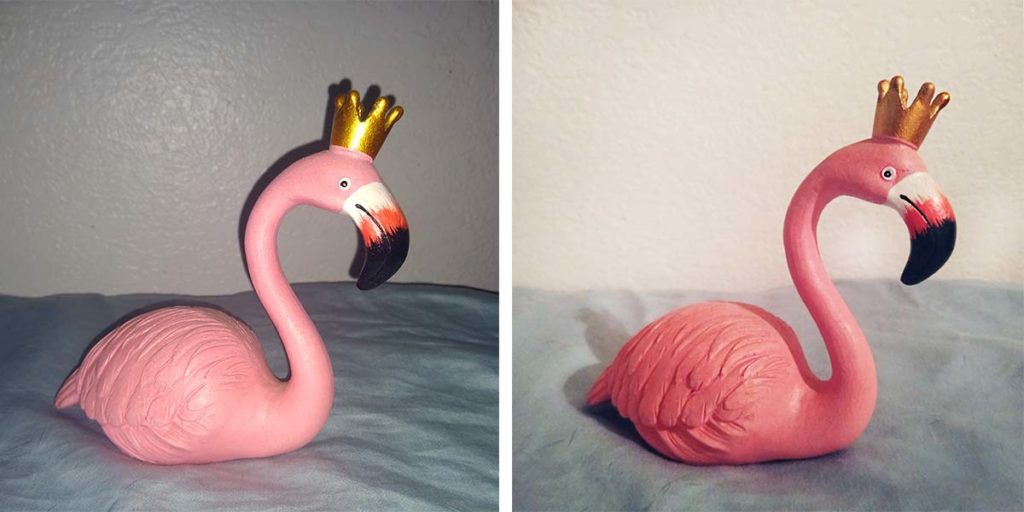
In the examples below, you can see that using flash to compensate for the darkness of the room creates heavy shadows and a glare on the background.
Tip #3: Consider Your Composition
As crucial as lighting is in a photo, it barely matters if the composition is still unappealing to the viewer. Extraneous clutter, uneven landscapes, and awkward angles will all detract from what could otherwise be a fantastic photo.
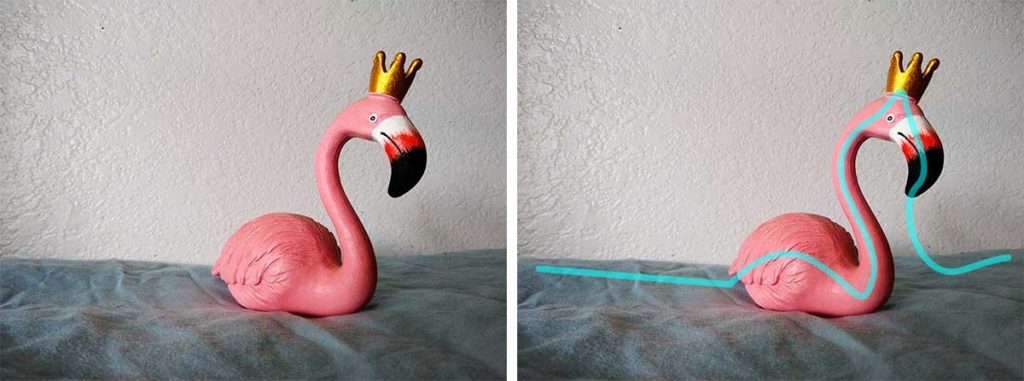
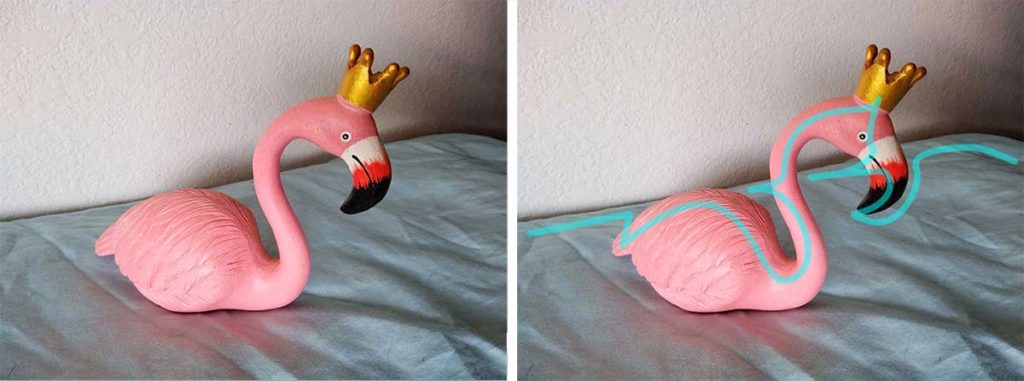
One of the most important things to remember when taking a photo is the rule of thirds. Imagine a tic tac toe board across the image. The focal points of your image should be along the intersections of the grid. The rest of the photo then allows the viewer some space for their eyes to relax, rather than distracting from what is essential in the image.
Another huge part of creating good composition is enlisting hierarchy. This means creating a flow throughout your image to guide the viewer’s eye to what is important.
For example, looking at our flamingo friend below, we can see that when we have a level horizon line, we use the rule of thirds, and there are easy to follow lines, it is a much more pleasing image.
Why Is This Necessary?
Think about the years you’ve put into making a beautiful product or being able to perform a perfect service. Now imagine that it isn’t being highlighted on your website or is being done so poorly. If what you are saying about the quality of your work is not being showcased to potential customers in an easily digestible way, why should they believe it or even care?
Clean, clear photos help to build trust by showing them something that makes them say, “I want that for my home,” and they know you are able to provide it.
Getting good imagery for your website doesn’t have to be a difficult, daunting task. Keeping these tips and tricks in mind will boost your photography skills and remember, like anything else, practice makes perfect. Of course, your marketing team is also a vital tool in perfecting how your brand is visually represented. We now offer professional photography and video services for your business. Give us a call, we are here to help!